How to install and use EmguCV in Visual Studio C#
Author: KK (Tablee) [Back to Research Home]
Step1. Visit EmguCV official site at http://www.emgu.com/wiki/
Step 2. Click the change log and known hyperlink in the Latest News Section.
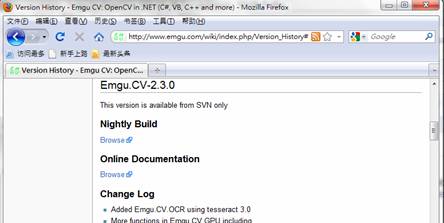
Step 3. Click the hyperlink Nightly Build Browse

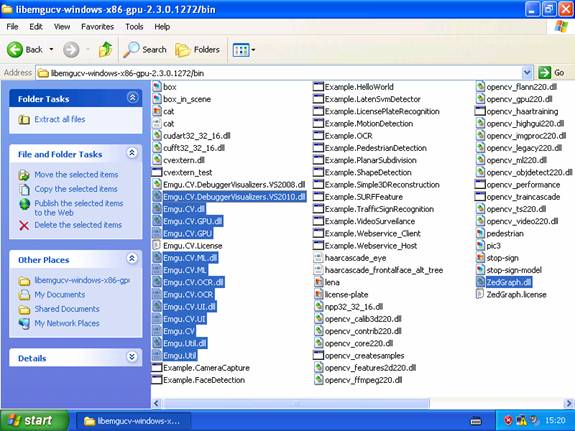
Step 4. Download and unzip libemgucv-windows-x86-gpu-2.3.0.1272.zip.
Step 4b. If you are using VS2008, you need to install vcredistx86.exe. Create a new C# project in Visual Studio.

Step 5. Go to the subfolder bin and copy the selected dll files to the created project
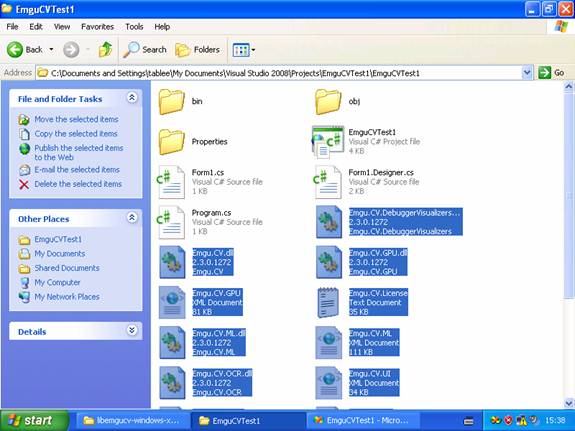
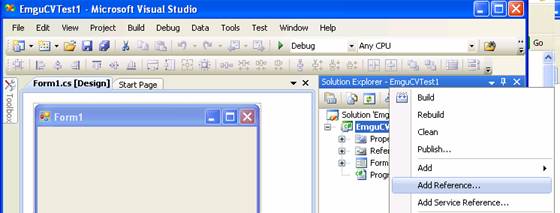
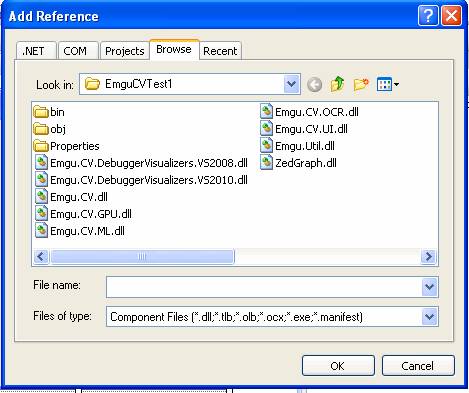
Step 6. Include the dlls as references into the project by right clicking the project name EmguCVTest1 and selecting the Add Reference...
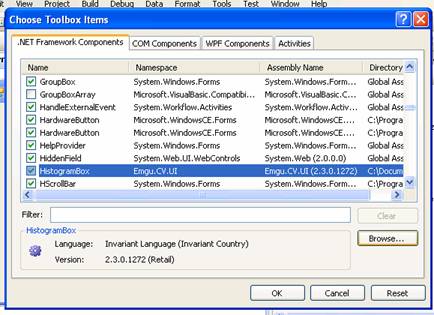
Step 7. Add toolbox item into the project by selecting Choose Toolbox Items... in Tools menu.

Click Browse... and select Emgu.CV.UI.dll, then someEmguCV items such as HistogramBox will be added into the Toolbox. Press OK.
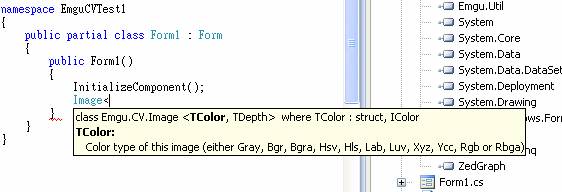
Step 8. Edit Form1.cs by adding 4 lines before the namespace keyword

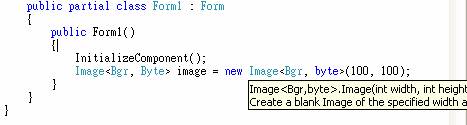
Type Image< in the class constructor will see hints about the Image<> generic class in EmguCV libraries. That means you have added the EmguCV libraries correctly.
Step 9. Complete the code.
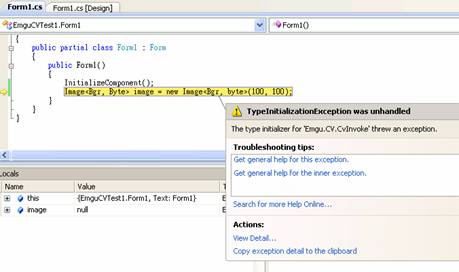
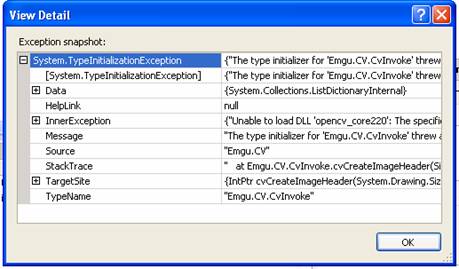
Compile the project, run the project and then you will face an exception. By viewing the detail of the exception, you can know that it is because the missing of the opencv dynamic libraries in the Debug/Release folder.
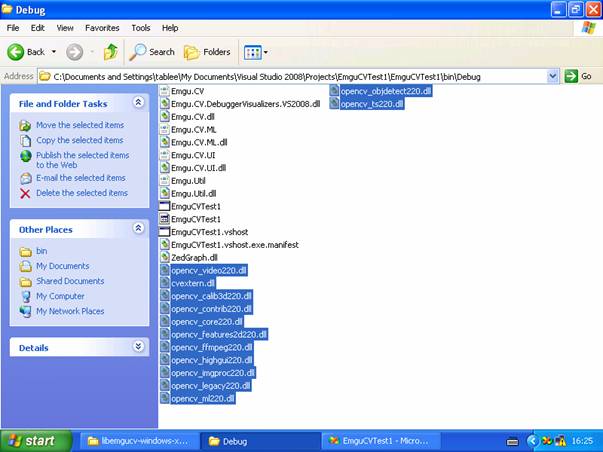
Hence we need to go to the bin subfolder of the unzip folder to copy the opencv dlls into the Debug/Release folder.
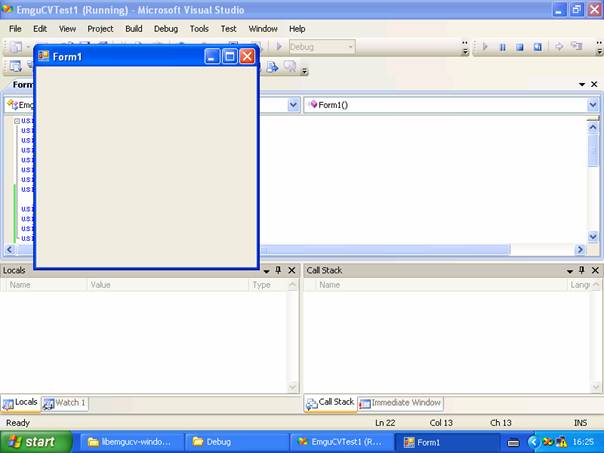
Recompile and rerun the project, a form Form1 will be pop up. Congratulations! That means you have successfully deployed the EmguCV into your C# project!!!